What Can I Use to Make a Stencil for My Cricut
Larn how to make a stencil with a Cricut machine! Adhesive stencil vinyl is a great way to make an piece of cake stencil that will give you clean lines when painting. Learn how I painted physical pavers using DIY stencils, outdoor acrylic paint, and sponge brushes! This post was sponsored by Cricut and outset appeared on bybrittanygoldwyn.com.
How to make a stencil with a Cricut automobile
If y'all would have told me even a few months ago that I would be ecstatic with how a stencil project had turned out, I would non believe yous. I have traditionally not loved working with stencils because I find information technology super hard to get clean pigment lines.
No matter how difficult I try to paint carefully and how much record I use to hold them in place, there is always pigment bleeding and smudging. Nevertheless, using stencil vinyl when painting means that the entire stencil is adhesive and doesn't motion at all!
While you lot tin't reuse DIY stencils made using Cricut's stencil vinyl (at to the lowest degree it would be actually hard to), the bang-up results y'all go make it worth the unmarried-use for me. Even on a concrete paver that has a dimpled and imperfect surface.
Painting physical pavers
I decided to try out my DIY vinyl stencils on cheap concrete pavers. Nosotros had a bunch of them in the lawn, and I was hoping to give them a facelift this flavour.
I just used acrylic paint for this—ane was specifically for outdoors and one said it was "weather-resistant"—and didn't add any additional sealant. So I'll update this post with how the paint holds up. The paint actually soaks into the concrete, and so I'm non too worried about flaking.
Hither'due south exactly what I used for my stencil projection:
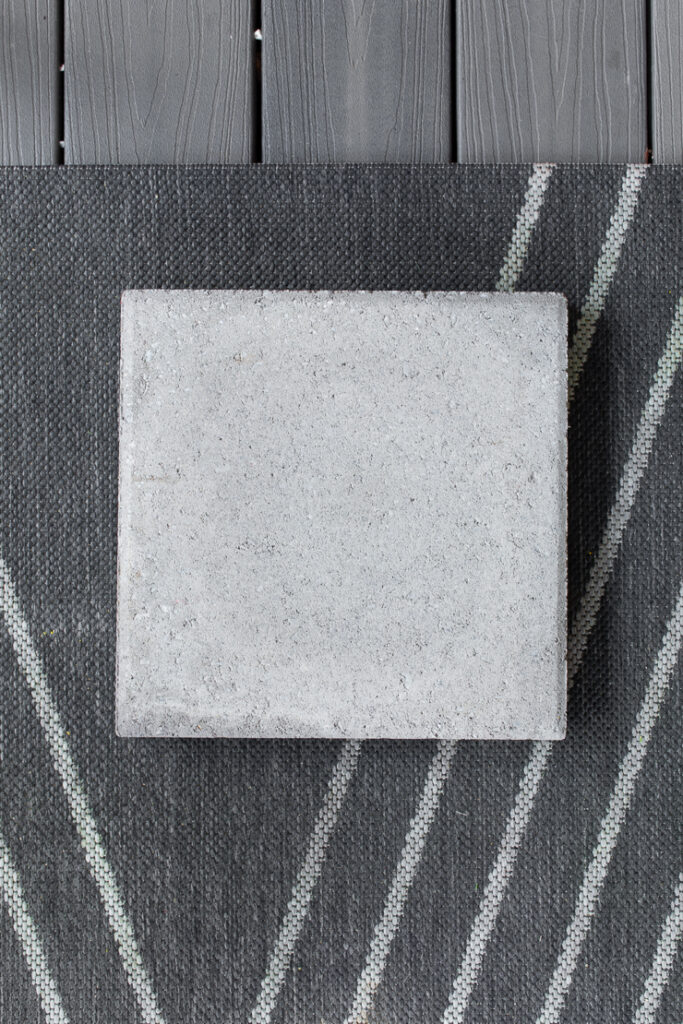
- 12" by 12" concrete pavers
- Leaf shapes sizes accordingly in Design Space (see the verbal shapes here, make sure you lot're logged in to Blueprint Space start)
- Cricut Explore Air 2 or Maker
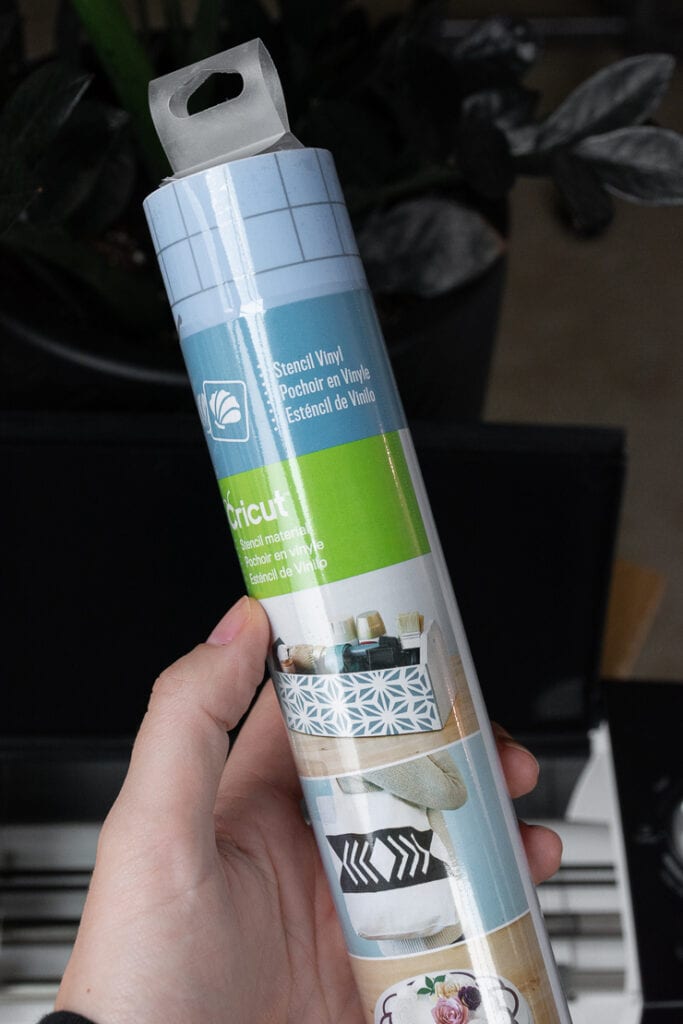
- Stencil vinyl
- Cut mat
- Sponge stencil castor
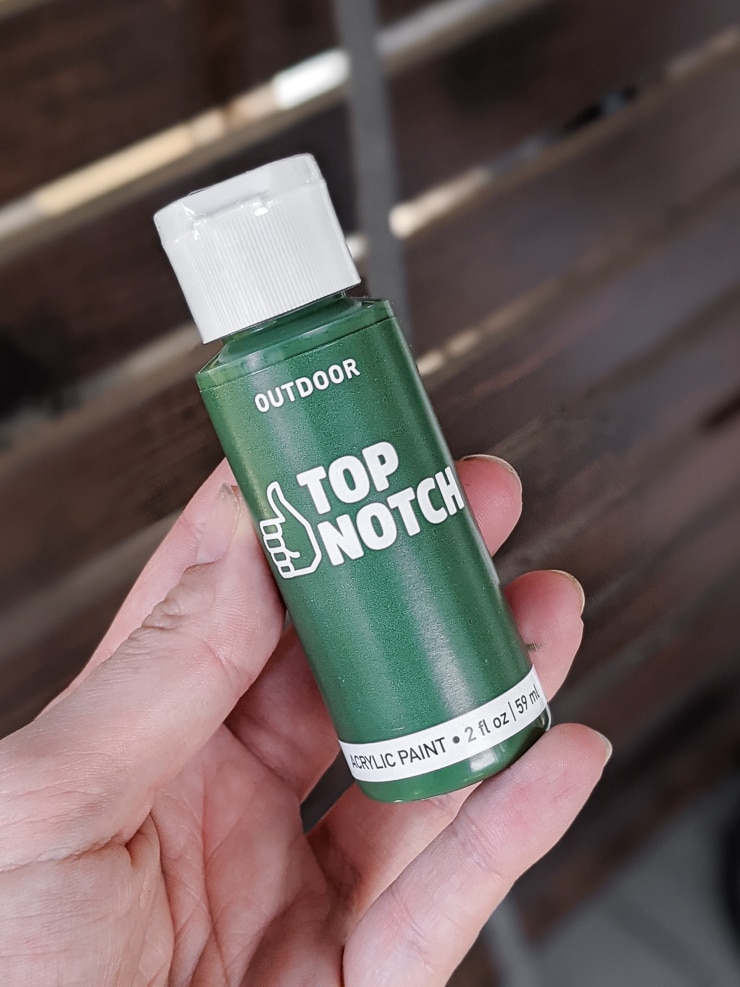
- Top Notch Outdoor Acrylic pigment from Joann (a new brand for me!)
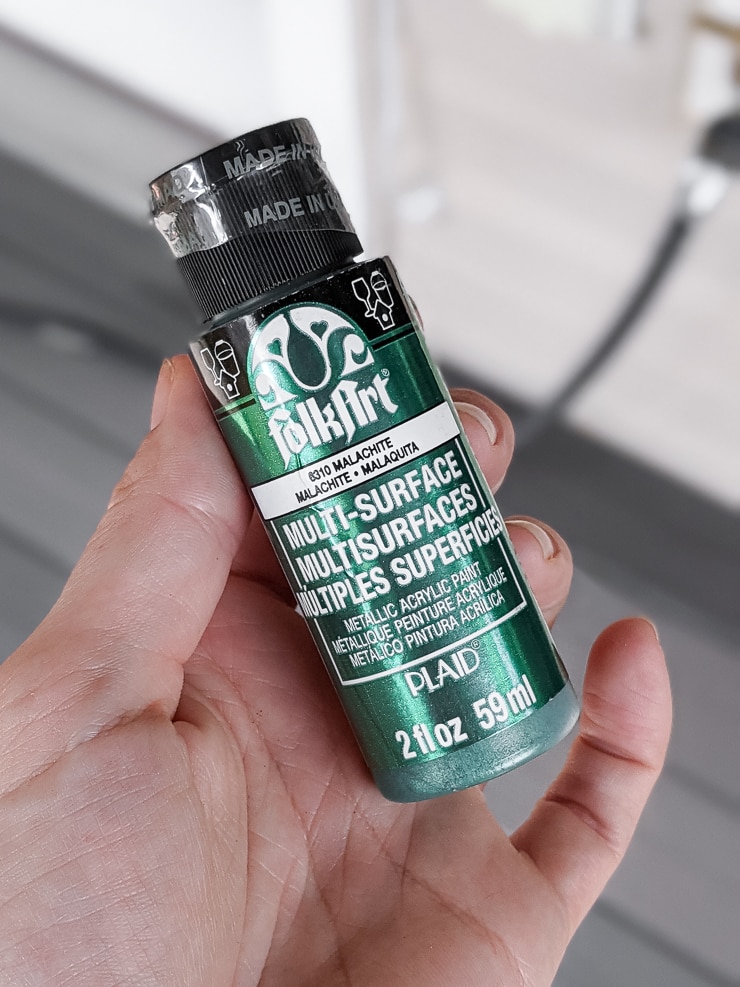
- FolkArt Multi-Surface Metal Acrylic Paint in Malachite (6310)
And here's how to make a stencil with a Cricut car!
Step 1: Pattern your stencil in Cricut Design Space
I wanted to practise leaf designs for my paver stencils, so I but searched different variations of "leaf" in Design Infinite. Since each of my pavers is 12" by 12" I made a foursquare that size in Design Infinite to help visualize the designs. (I deleted the squares before cut).

If you like this, you'll love my tutorials on how to make wall decals with a Cricut, how to brand dollhouse miniatures with a Cricut, and how to convert a JPG into an SVG for cutting car crafts!
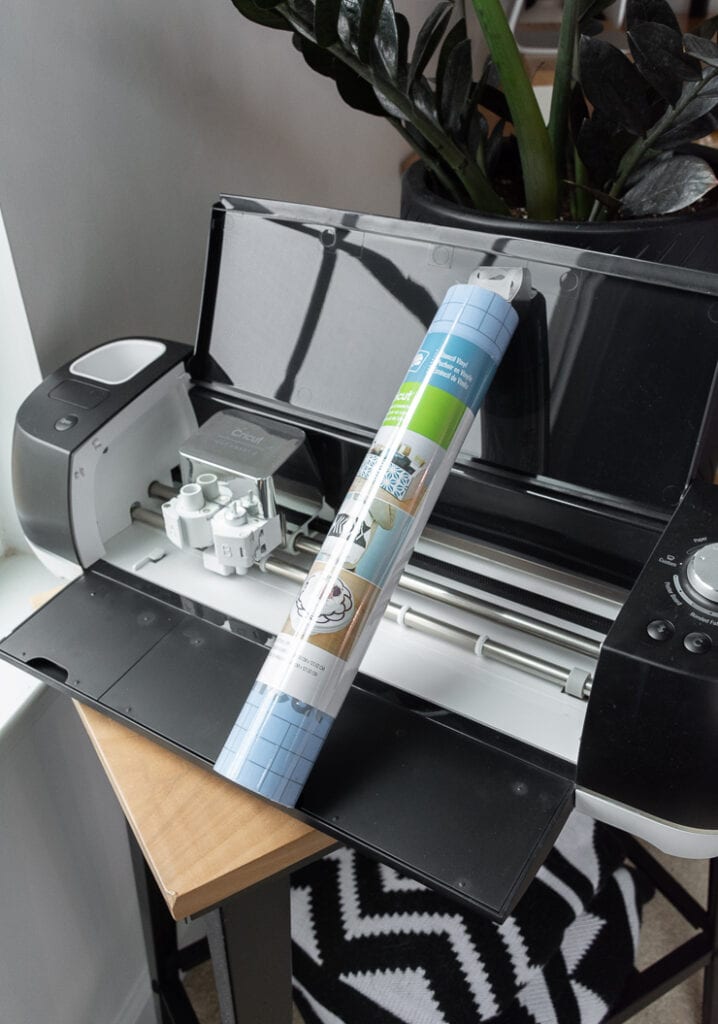
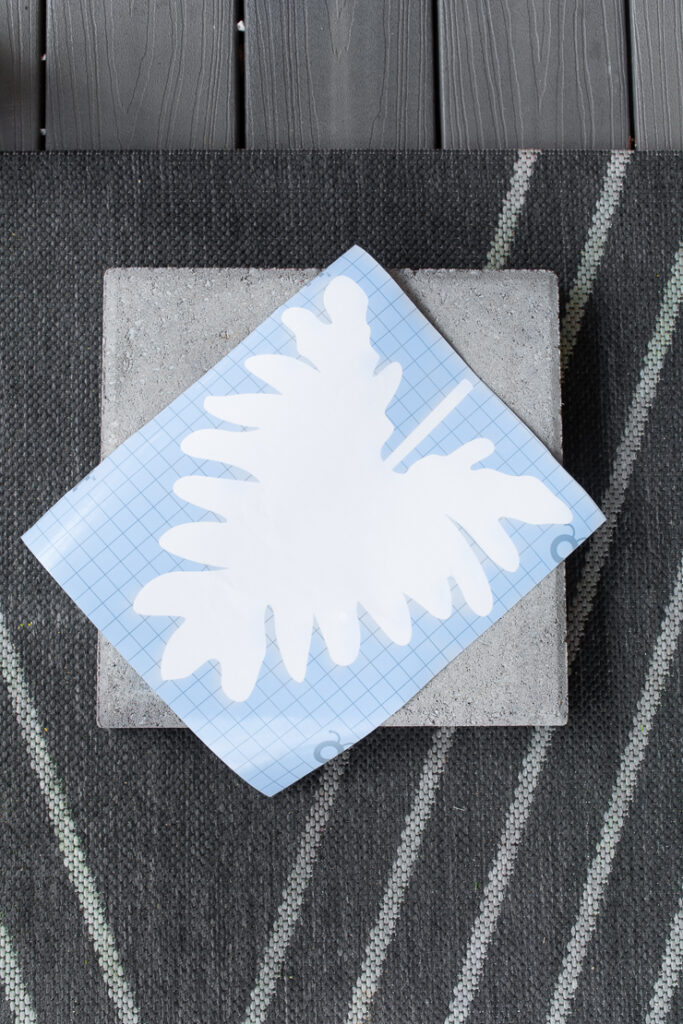
Pace 2: Cut stencils on your Cricut Machine
The stencil vinyl doesn't need to be turned over on the mat or mirrored. Lay the stencil vinyl on the mat and choose "stencil vinyl" in Design Space. If you lot're using an Explore machine equally I was, you'll demand to move the dial on the machine to "custom" first. Then select stencil vinyl.
After your auto does its matter, weed out the negative space. This might seem obvious, but I am so used to weeding out the vinyl effectually a cut pattern that I most did that! For stencils, you're obviously weeding out the actual design.
I mean, if that's the part yous want to paint. Basically, think of information technology this way: remove the vinyl in the areas you want to paint. Again, I know it's obvious, but information technology did trip me upwardly at first! You tin leave everything else on the paper backing.
Step 3: Launder pavers
I recommend giving the pavers a quick scrub with any sort of balmy soap. Especially if they've been sitting outside for a while as mine have. But they come pretty dirty even from the shop.
At the very least, hose them off using the "jet" setting to remove debris. Then sit them in the sun to dry thoroughly. Getting the surface equally clean every bit possible will not only help the stencil adhere, it will assistance the paint attach besides.
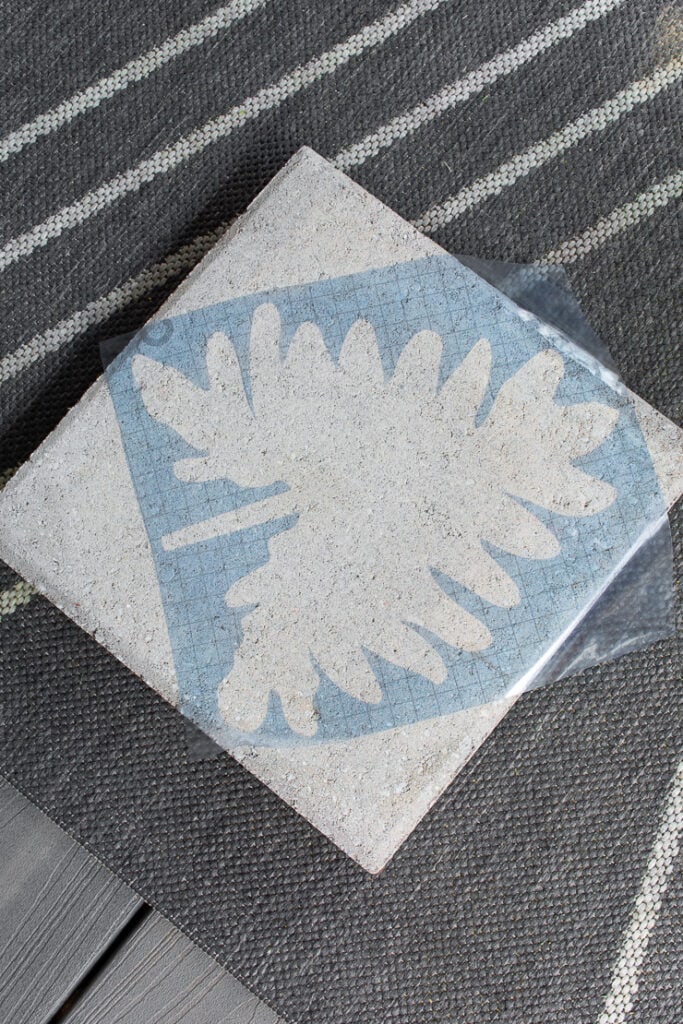
Step 4: Employ each stencil
Alright, I won't lie to y'all here—the virtually frustrating part of this was getting the stencil in place! I wasn't actually thinking when I fabricated these bigger stencils. I ended up having the nearly success peeling off the backing of the top part of the stencil first.
Then I tried to slowly peel the backing off as I positioned the stencil. Did this work each time? No, lol. Virtually of the time the stencil came off and stuck to itself. Or the current of air blew and messed me upwards.
But the stencil vinyl is pretty forgiving, and I was able to easily peel information technology off of itself and positioned information technology on the paver. I was also able to reposition it without it losing besides much of its stickiness. Overall, it was kind of tedious, but it worked great in the end.
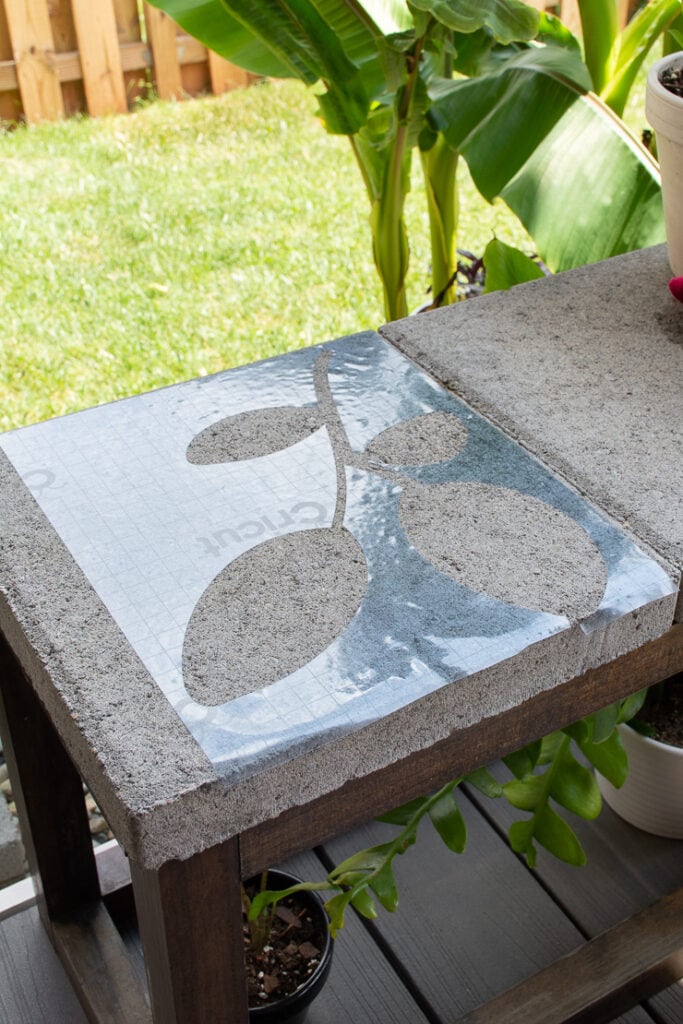
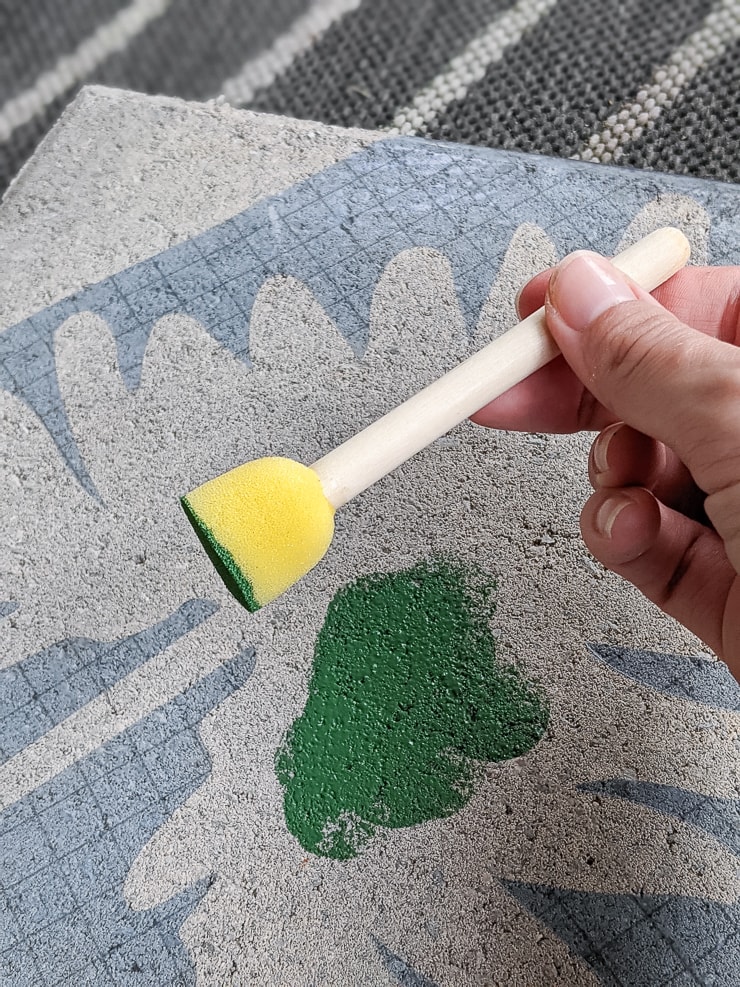
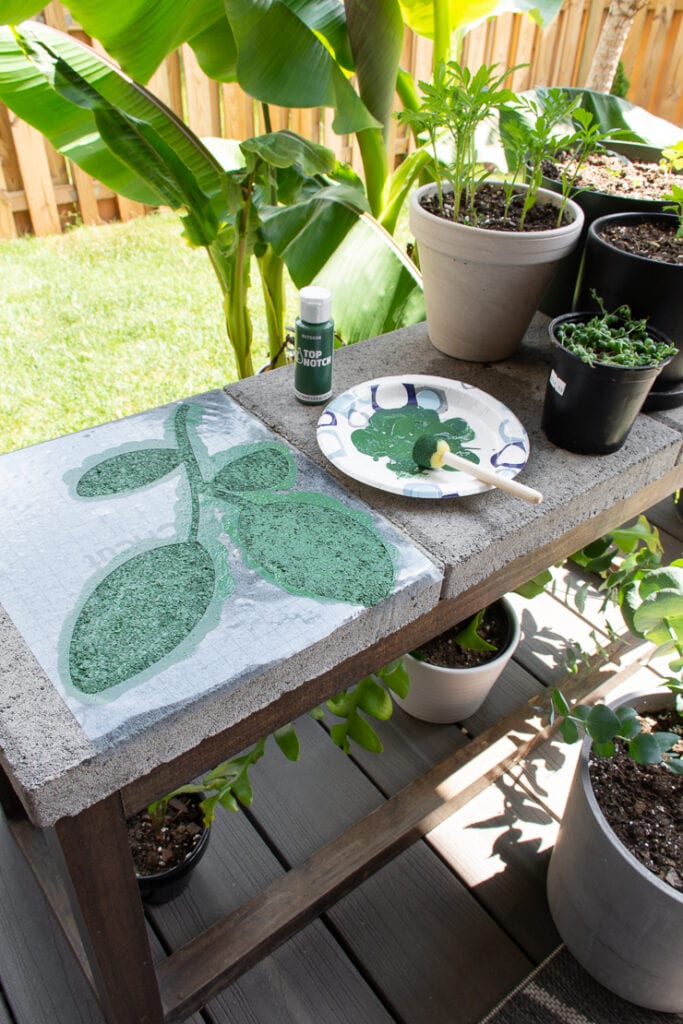
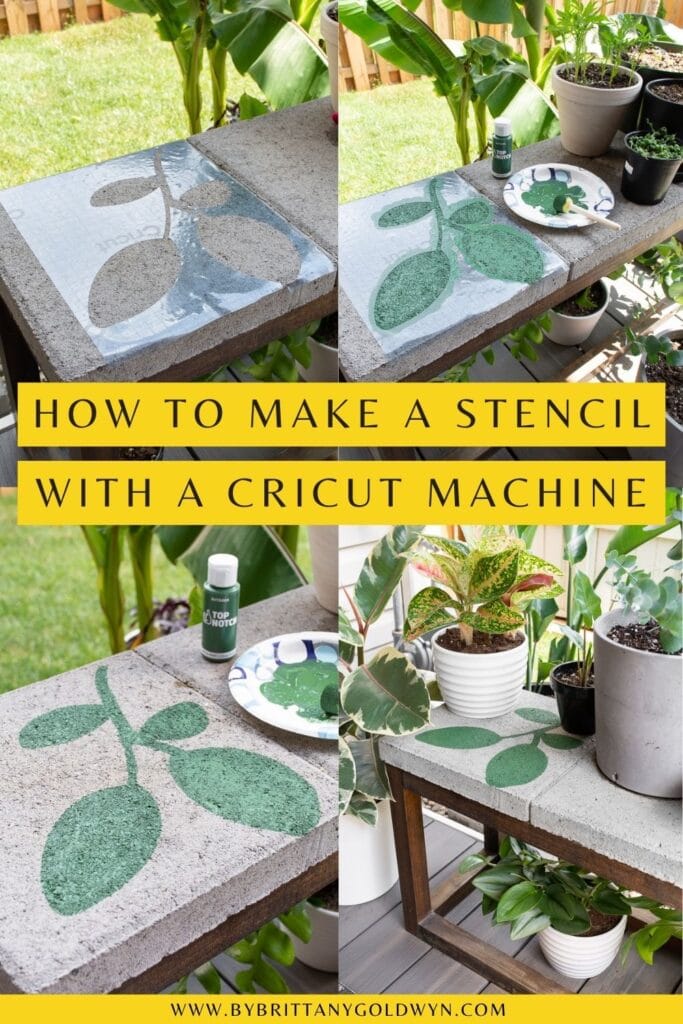
Step v: Pigment in the stencils with acrylic paint
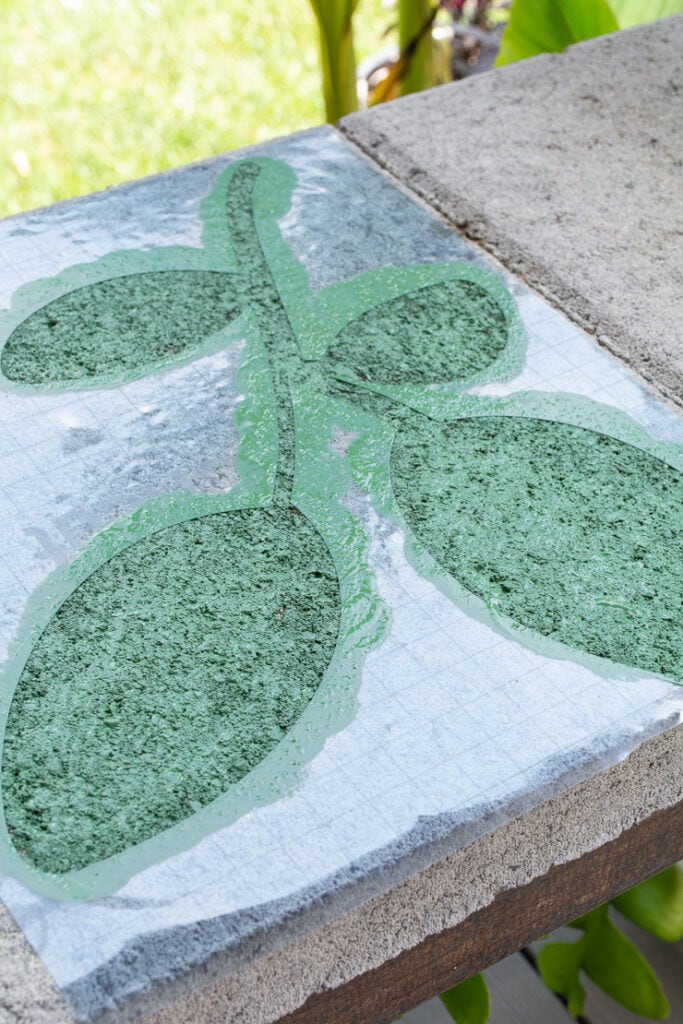
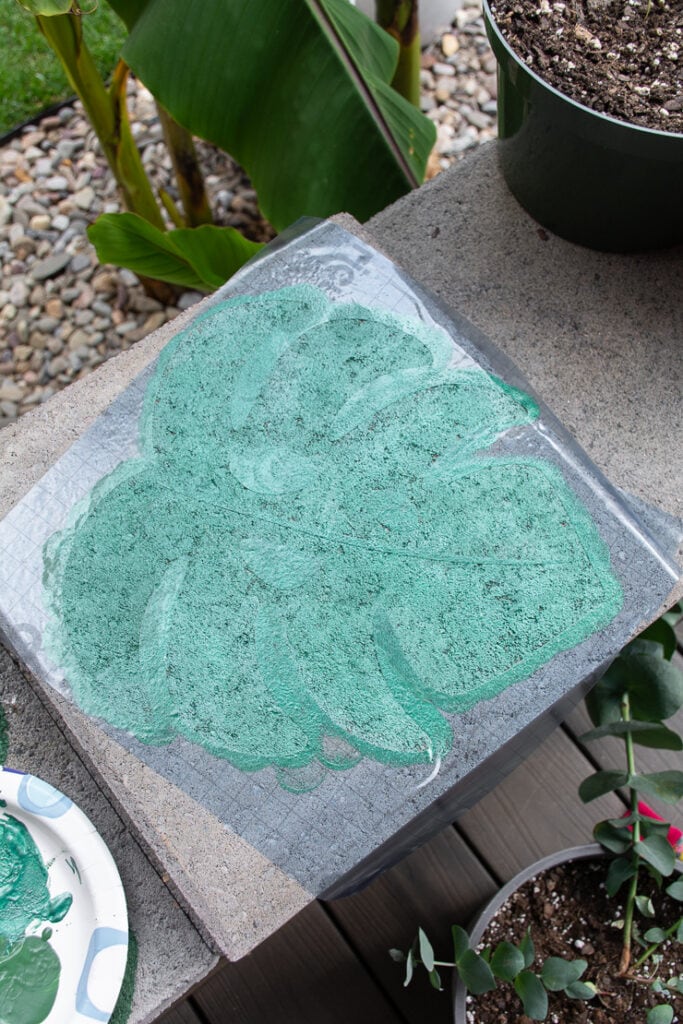
Now the fun part!! Look at the stencil kind of at eye level to see if you can spot any bumps or gaps betwixt the vinyl and the paver. Smooth out as necessary, and gently apply pressure level all around the stencil vinyl to get a adept bond.
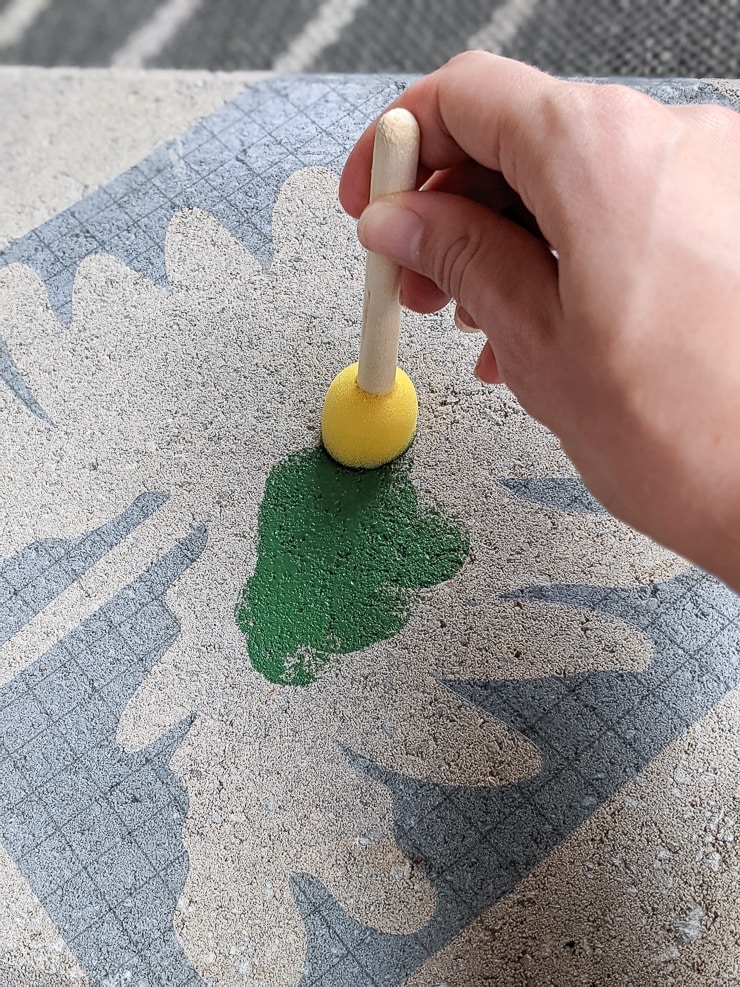
Use a sponge stencil brush to blot the paint onto the paver. This does wonders to help prevent bleeding. It also helps to stop y'all from peeling the adhesive up like brushing sometimes does.
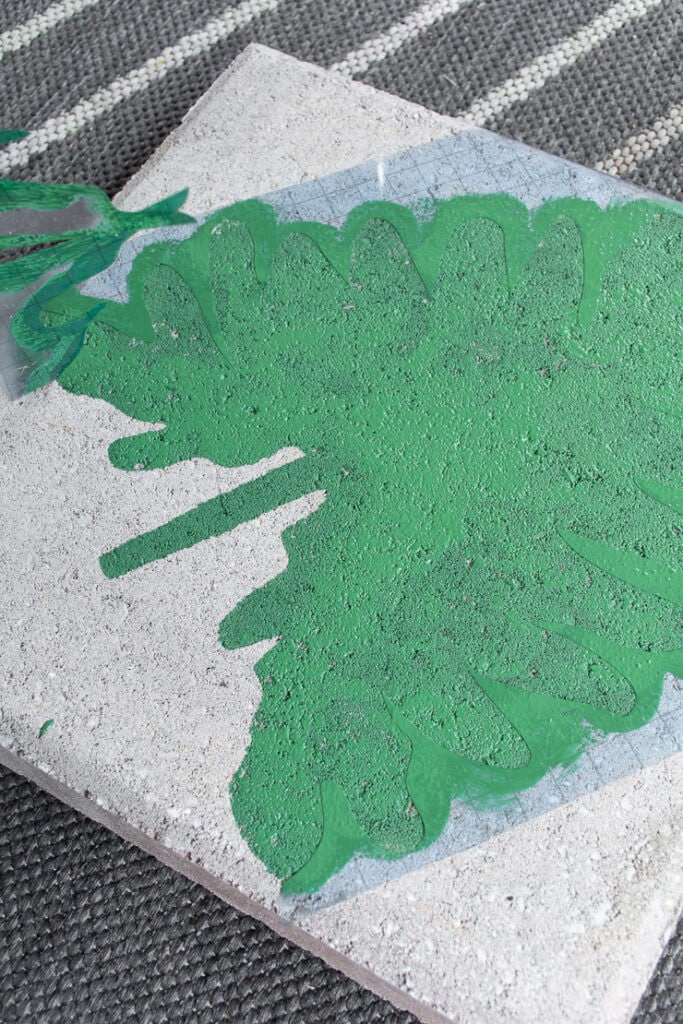
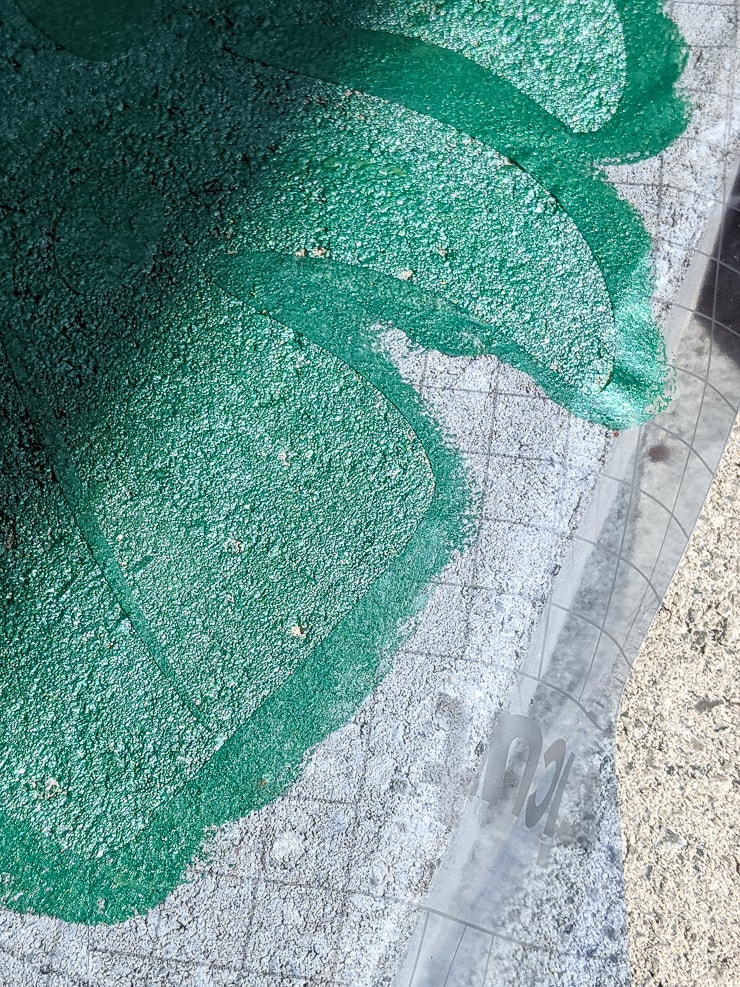
Blot all over the stencil, checking the seal between the vinyl and the paver equally you paint. When you've done painting but while the pigment is still wet, peel the stencil off.
Careful! Paint is tough to get off of the concrete, so don't let the wet paint on the stencil brush the un-stenciled expanse of the paver. I made one mistake that's not that noticeable. Something to keep in listen while you're working.

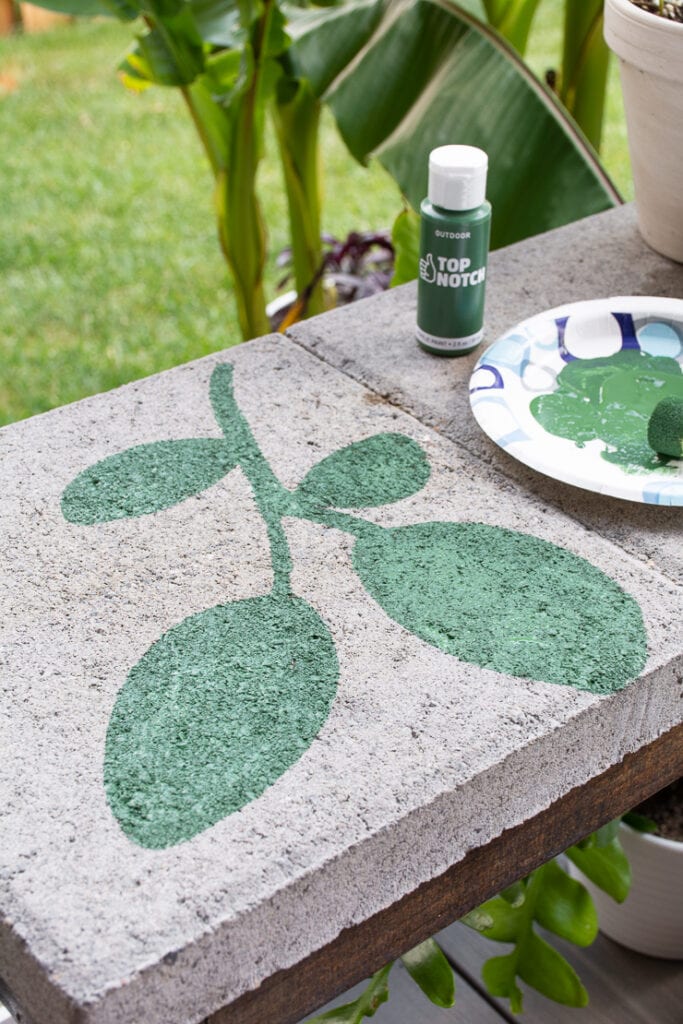
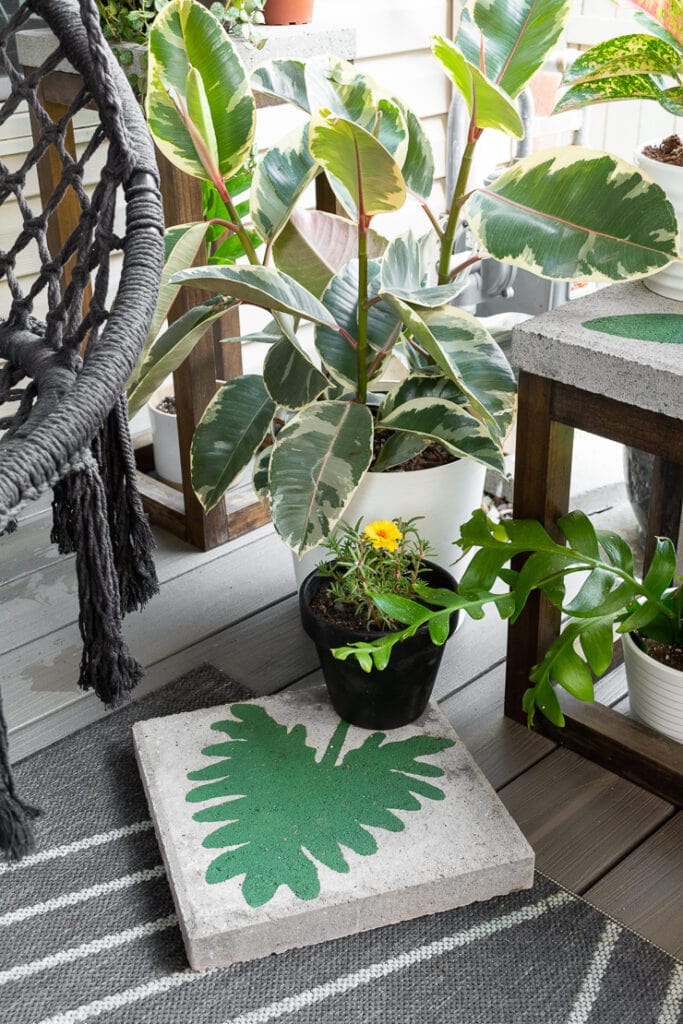
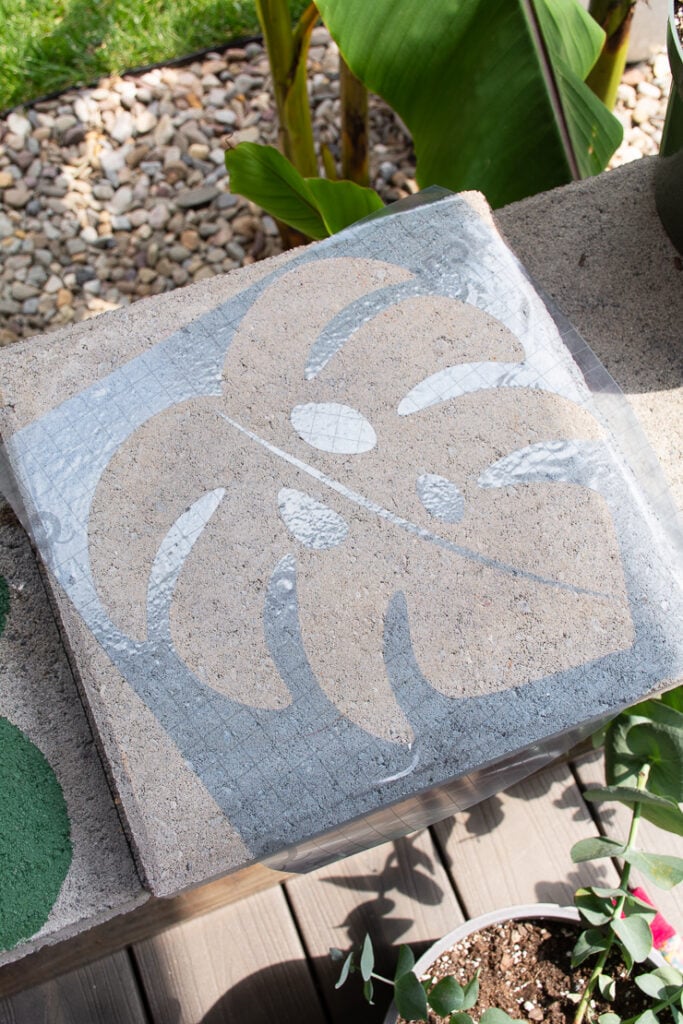
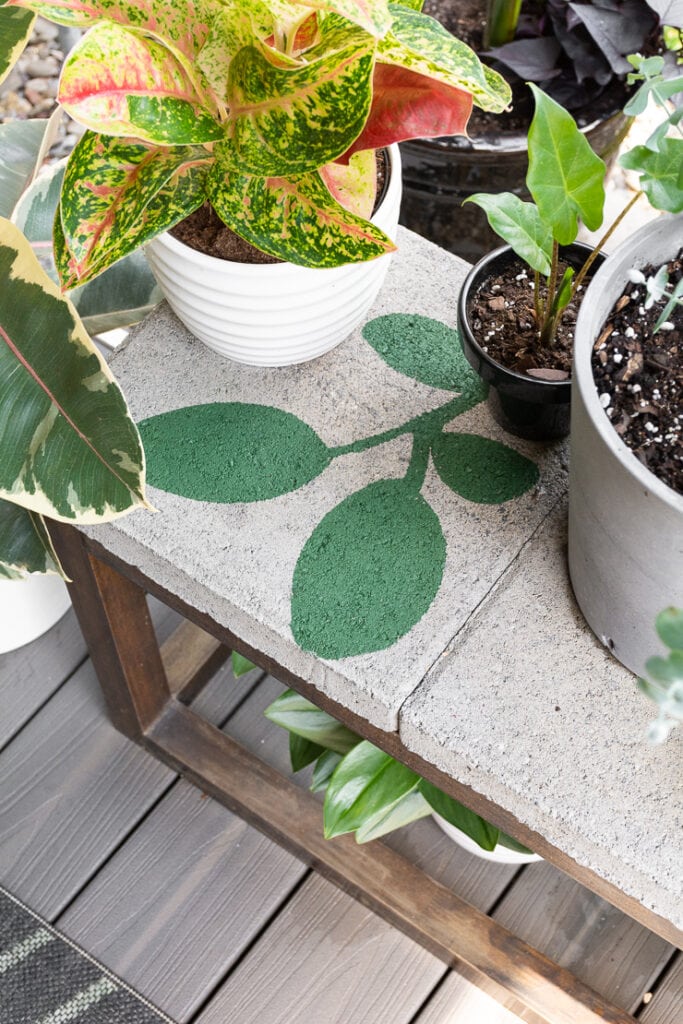
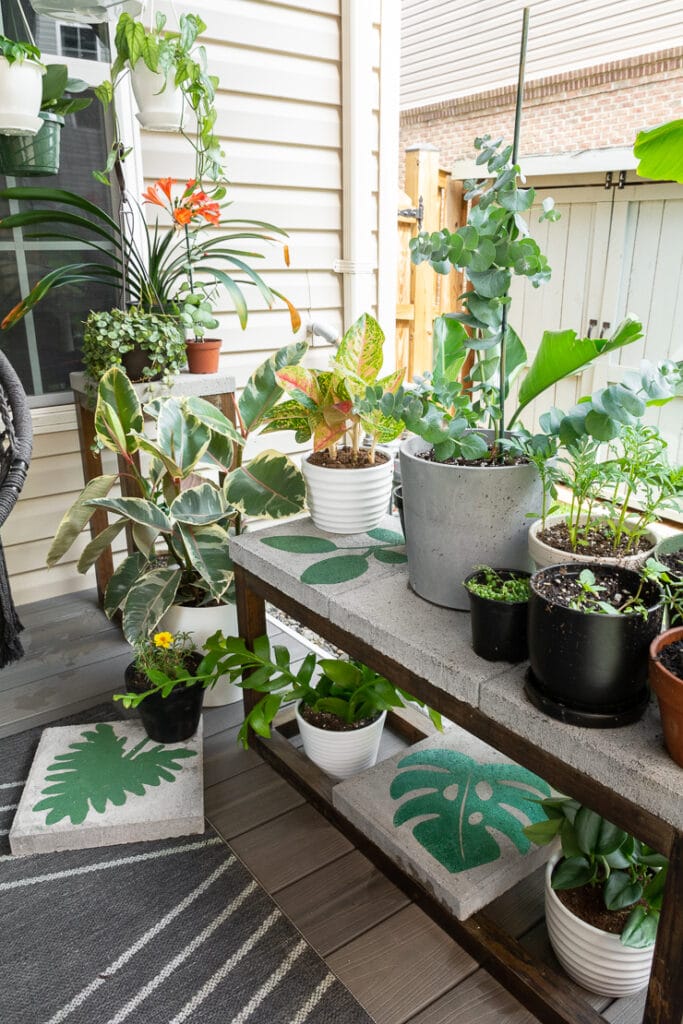
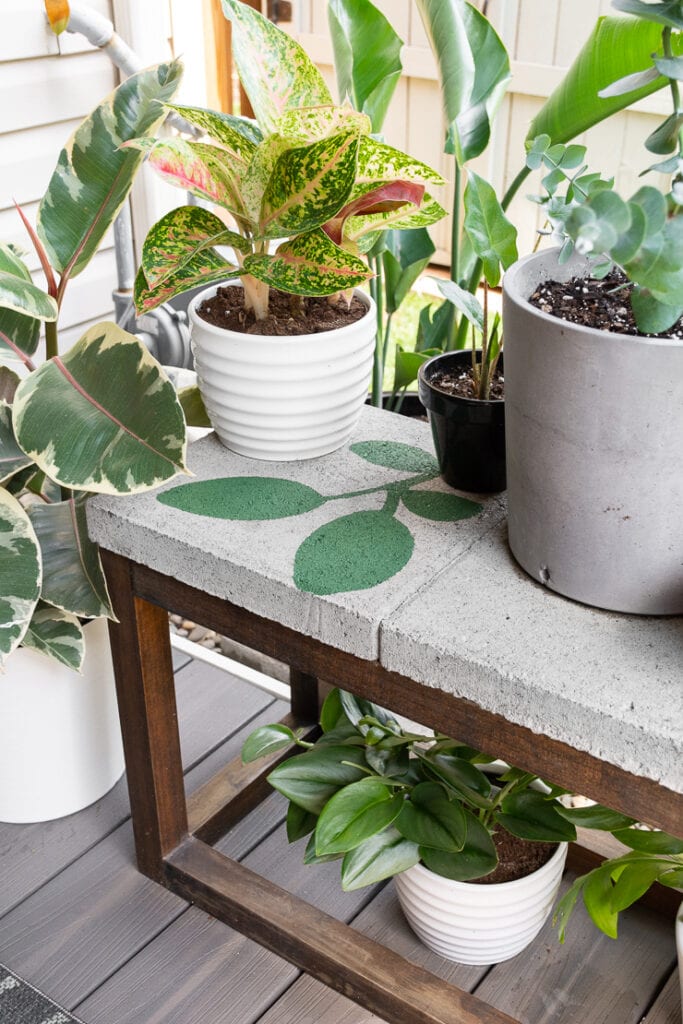
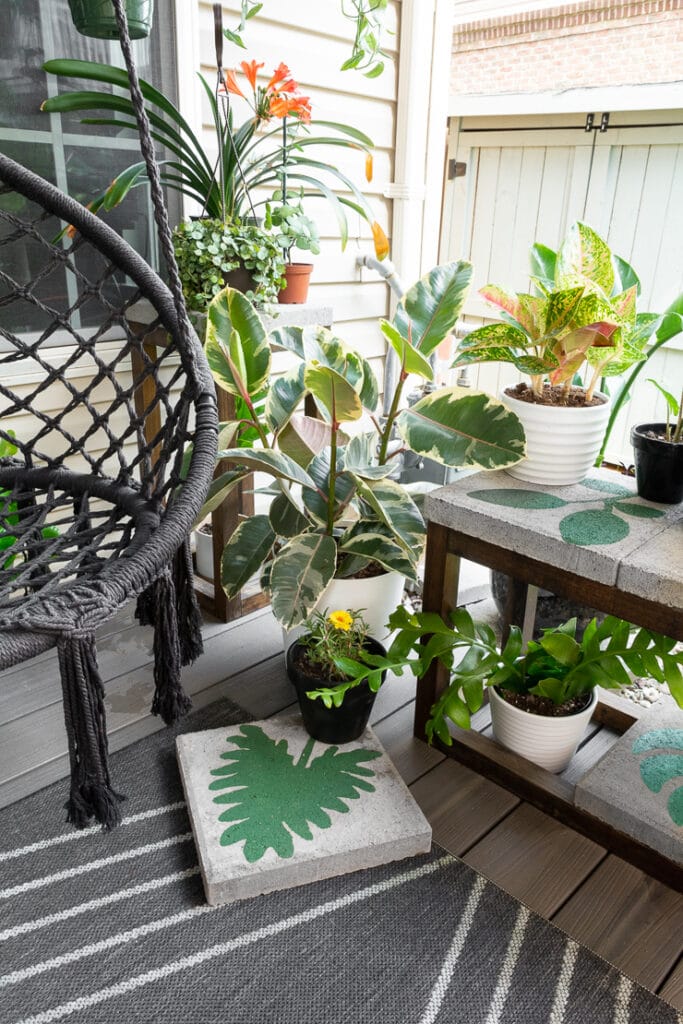
And here are the finished pavers customized using my DIY Cricut stencils!
Really, I ended up going a petty crazy and painting one of the pavers on elevation of our DIY concrete paver coffee tabular array out on the patio! Information technology'due south a few years erstwhile at present, then I idea, why not give it a bit of a face lift?!
It more often than not holds plants these days, then the leaf stencils were very plumbing equipment. The Elevation Notch brand paint went on groovy, and the FolkArt metal colour is GORGEOUS. That was the last one I did. I didn't know if information technology would be too showy, and now I kind of regret doing only 1 in that color/sheen.

Exercise you need to seal painted physical pavers?
For these, no. I am choosing not to seal them. If you were doing something like a paver patio? I probably would seal them with something like a Thompson's Waterseal castor-on sealer.
I will update this mail service in the hereafter if the pavers begin showing signs of habiliment and peeling. For now, I recollect they will concord up pretty well since I don't accept them in the harsh sun all day and they aren't subjected to pes traffic.
Pivot my post nigh how to make a stencil with a Cricut!

Source: https://letscraftinstead.com/make-stencil-cricut/
0 Response to "What Can I Use to Make a Stencil for My Cricut"
Postar um comentário